PB Unified is about trying to make your life easy by providing tips and tricks on various topics which are mostly necessity in our daily lives. We're here to add some positive value to Life.
The best offer with which you can play all EA games for just Rs. 63. Avail the offer as it lasts. Also, we have a surprise giveaway for you in the video. Get Account Details from the link below : Steps To Download the txt File : Step 1 Go to https://bit.ly/3b9Y9Dn Step 2 Wait for the timer then click on "open-continue" Step 3 Then cross this window Step 4 Wait for timer Step 5 Then click on "unlock link" Step 6 Then it will validate Step 7 Then click on "Get link" Then next site 1. Click on "Skip This-AD" 3. Scroll Down & Click on "Free Download" 4. Wait For Few Seconds & Verify by CAPTCHA 5, Click On CREATE LINK 6. Click On "Click Here To Download" 7. Close the Ads 8. You'll see login details. 9. Login to Steam. Enjoy. For future updates and for free premium accounts & apps, free Steam games and much more exclusive tips and tricks, Join us on discord : https://discord.gg/THXYRx7 _________________________...
Get link
Facebook
X
Pinterest
Email
Other Apps
How to install Windows 10x
Get link
Facebook
X
Pinterest
Email
Other Apps
Microsoft has almost finalized the Windows 10X build for public release. Many reports suggest that Windows 10X is OEM-ready and it’s going to be shipped later this year. So if you have been waiting then, the near-final build of Windows 10X has been leaked and you can run it on your PC right now. In this video we've shown you how to install windows 10x on Windows 10 virtually.
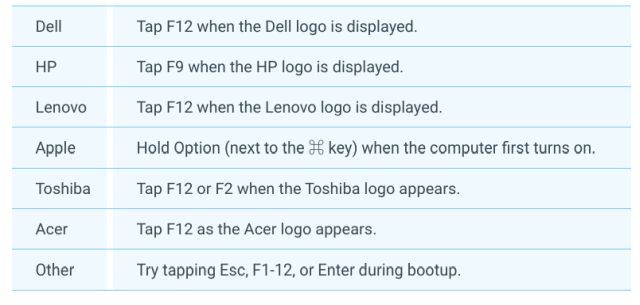
1. First off, you need to enable virtualization from your BIOS settings. While rebooting your PC, you need to press the BIOS key which will open the BIOS settings page. You can find the BIOS key from our below table. If the below key is not working then look for the specific BIOS key for your PC manufacturer on the internet.
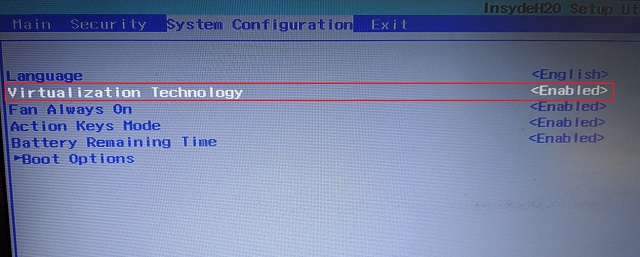
2. Once you are on the BIOS page, you need to enable “Virtualization”. Every PC has a different name for the virtualization technology so look for “Intel VT-x”, “Intel VT-d” or anything on similar lines. Move between different menus and enable virtualization and save the changes by pressing the F10 key.
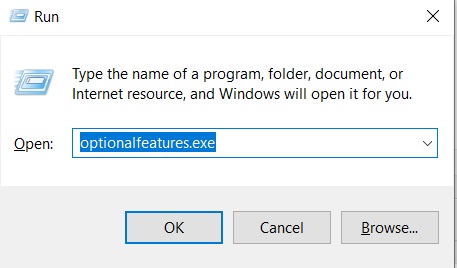
3. Once you have done that, your computer will reboot to Windows 10. Now, we have to enable Hyper-V on your Windows 10 computer. To do so, press Windows and R keys at once to open a Run window. Now, type optionalfeatures.exe and hit enter.
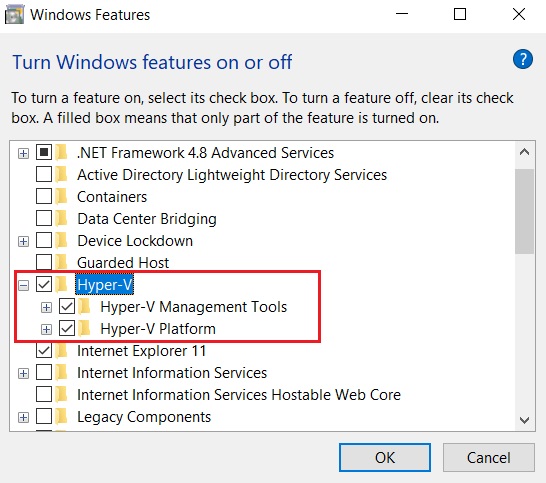
4. Here, scroll down and look for Hyper-V. Now, enable all the checkboxes under Hyper-V and hit the OK button. It will start installing the necessary packages and will ask you to restart the computer once the installation is done.
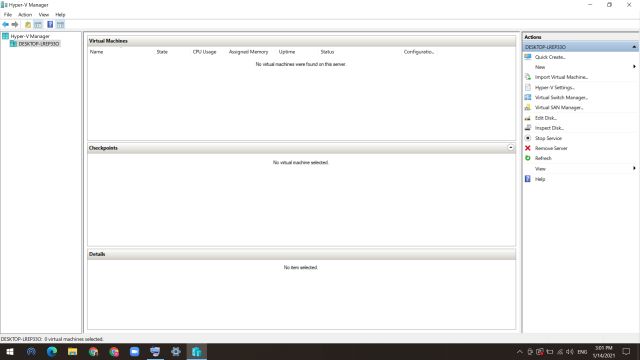
5. You have successfully enabled Hyper-V on your Windows 10 computer. To open it, just press the Windows key once and type “Hyper-V” in the search bar and you would find the application on top. Click on it.
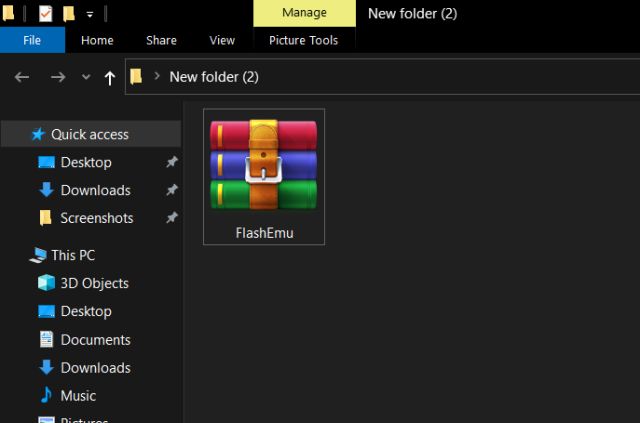
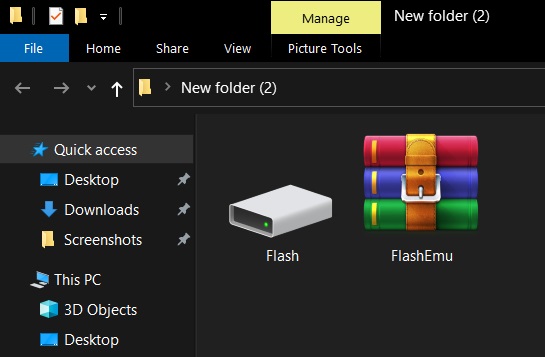
8. After downloading the file, extract the ZIP file and move the Flash.vhdx file to an accessible location like Desktop. I would recommend you to save it where there is ample storage available.
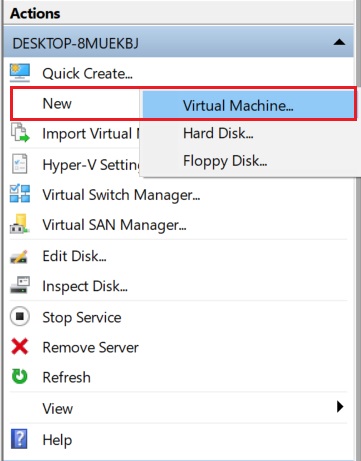
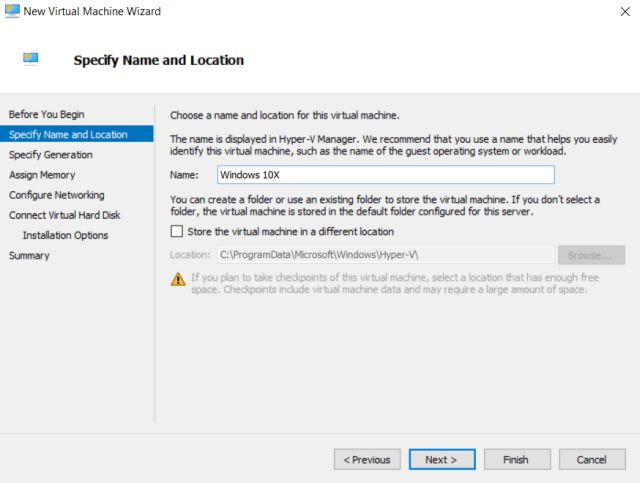
9. Now, come back to Hyper-V and click on “New” and select “Virtual Machine” from the top-right pane.
10. After that, give a name to the virtual machine. I have named it “Windows 10X”, but you can choose your own.
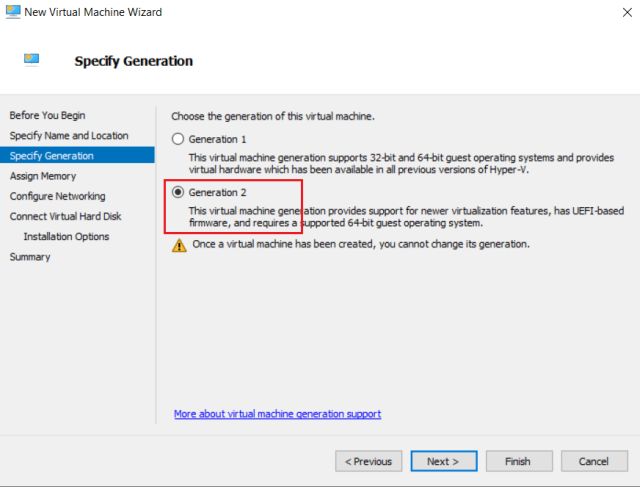
11. Next, choose “Generation 2” and hit the “Next” button.
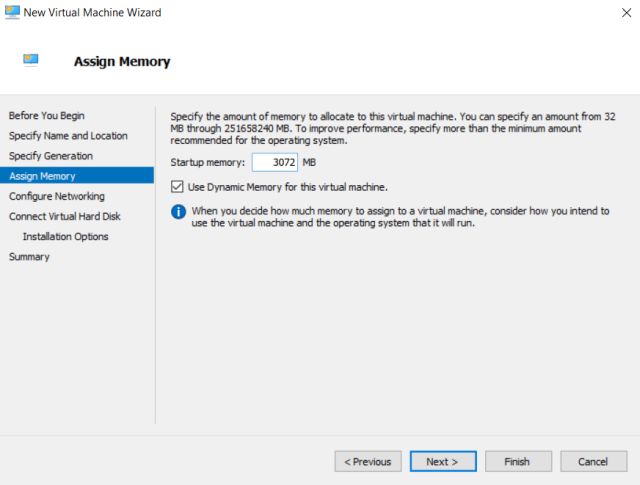
12. After that, allot RAM to the Windows 10X virtual machine. I would recommend you to allot 3GB (3072MB) or more for better performance.
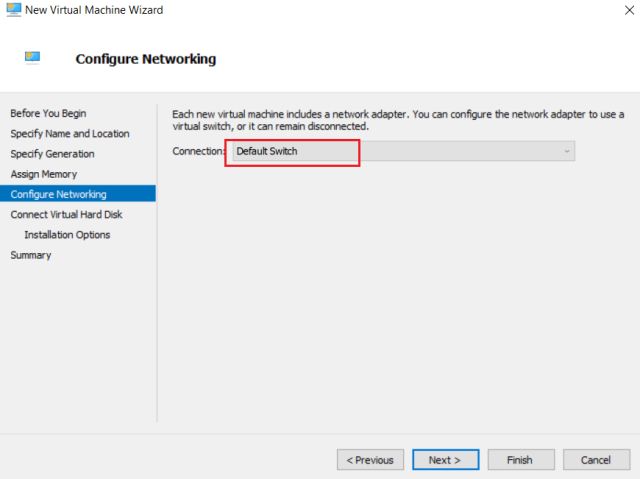
13. On the next page, choose “Default Switch” from the drop-down menu and hit “Next”.
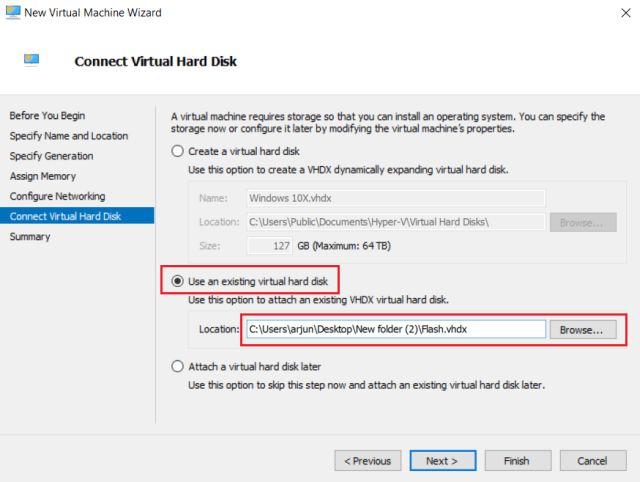
14. Finally, click on “Use an existing virtual hard disk” and select the “Flash.vhdx” file by clicking on the “Browse” button.
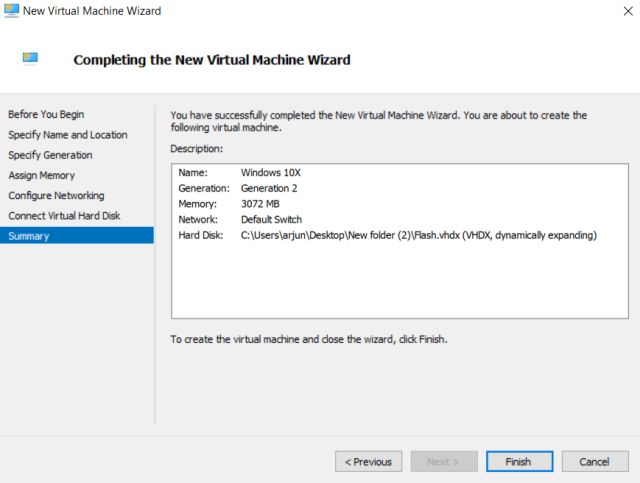
15. Finally, click on “Finish“.
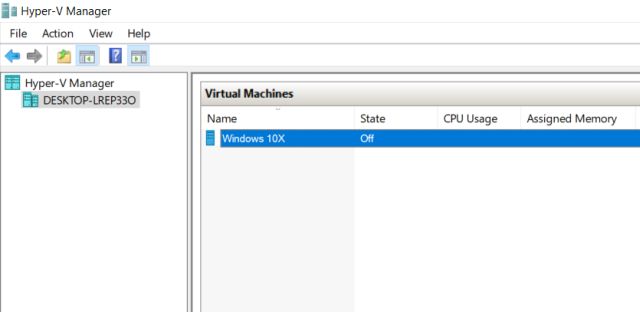
16. Now, this is the virtual machine that we will use to run the latest version of Windows 10X on our PC.
Run Windows 10X on Your PC
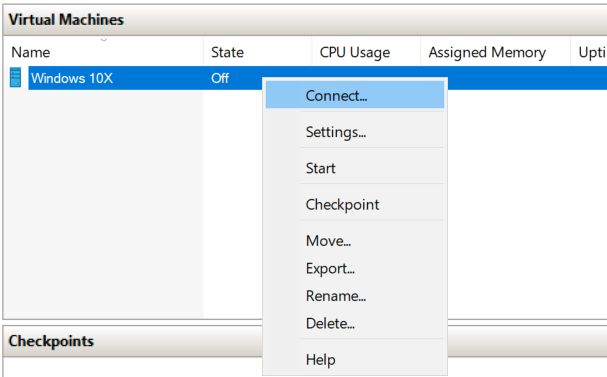
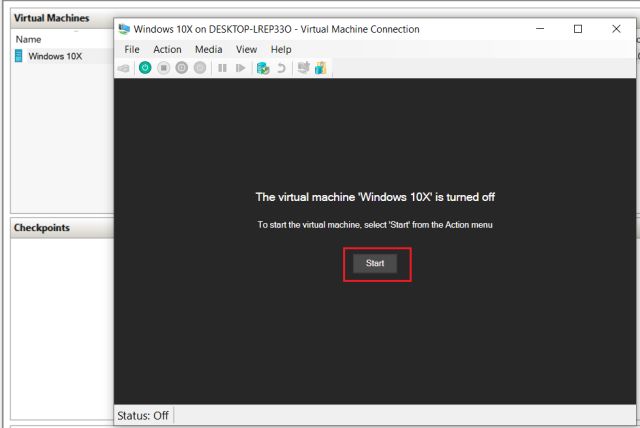
1. Right-click on the virtual machine and choose “Connect“.
2. After that, click on “Start” and Hyper-V will start the Windows 10X virtual machine directly from the VHDX file. On the first run, it will take some time to process all the files and information.
Note: Even after 30 minutes, if the VM is stuck on a black screen then you are most likely using an AMD GPU. Go through our next guide to find a solution.
3. Finally, you will be greeted with a Windows 10X boot animation.
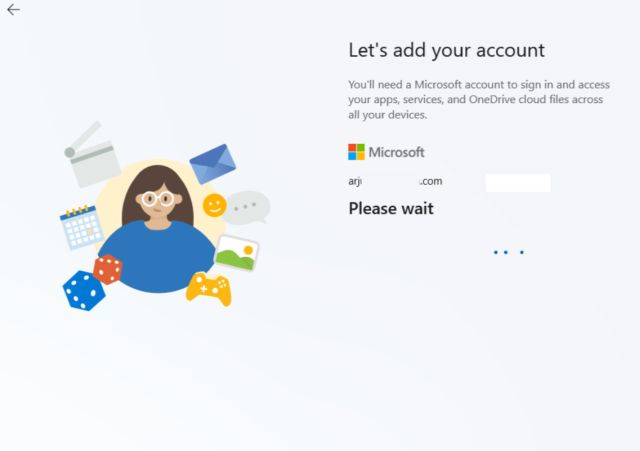
4. Now, go through all the on-screen instructions and login with your Microsoft account. You can also create a PIN during the initial setup.
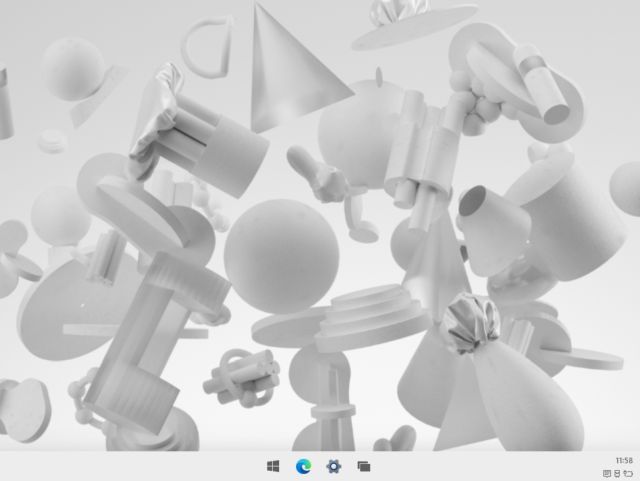
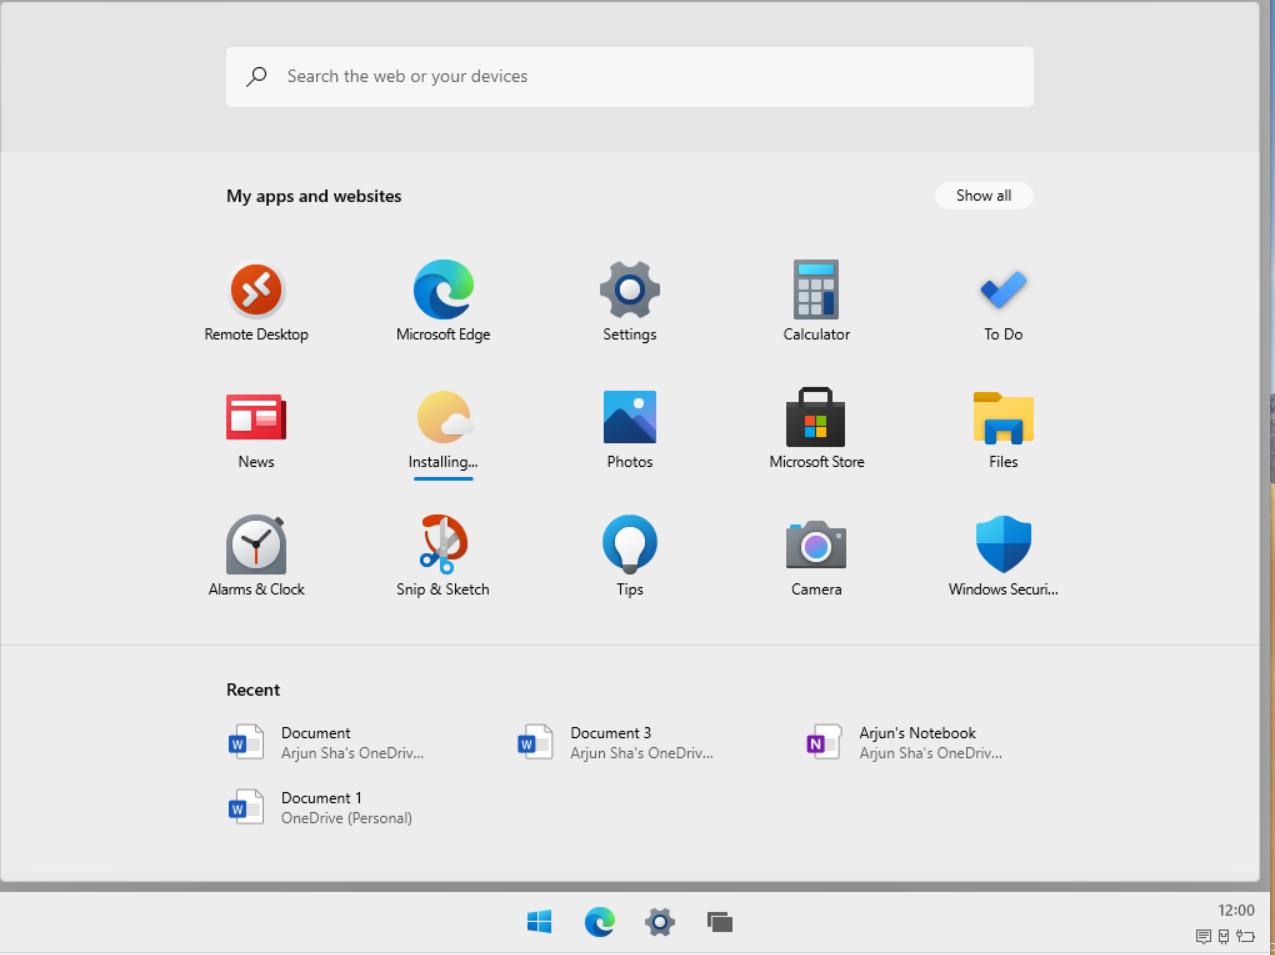
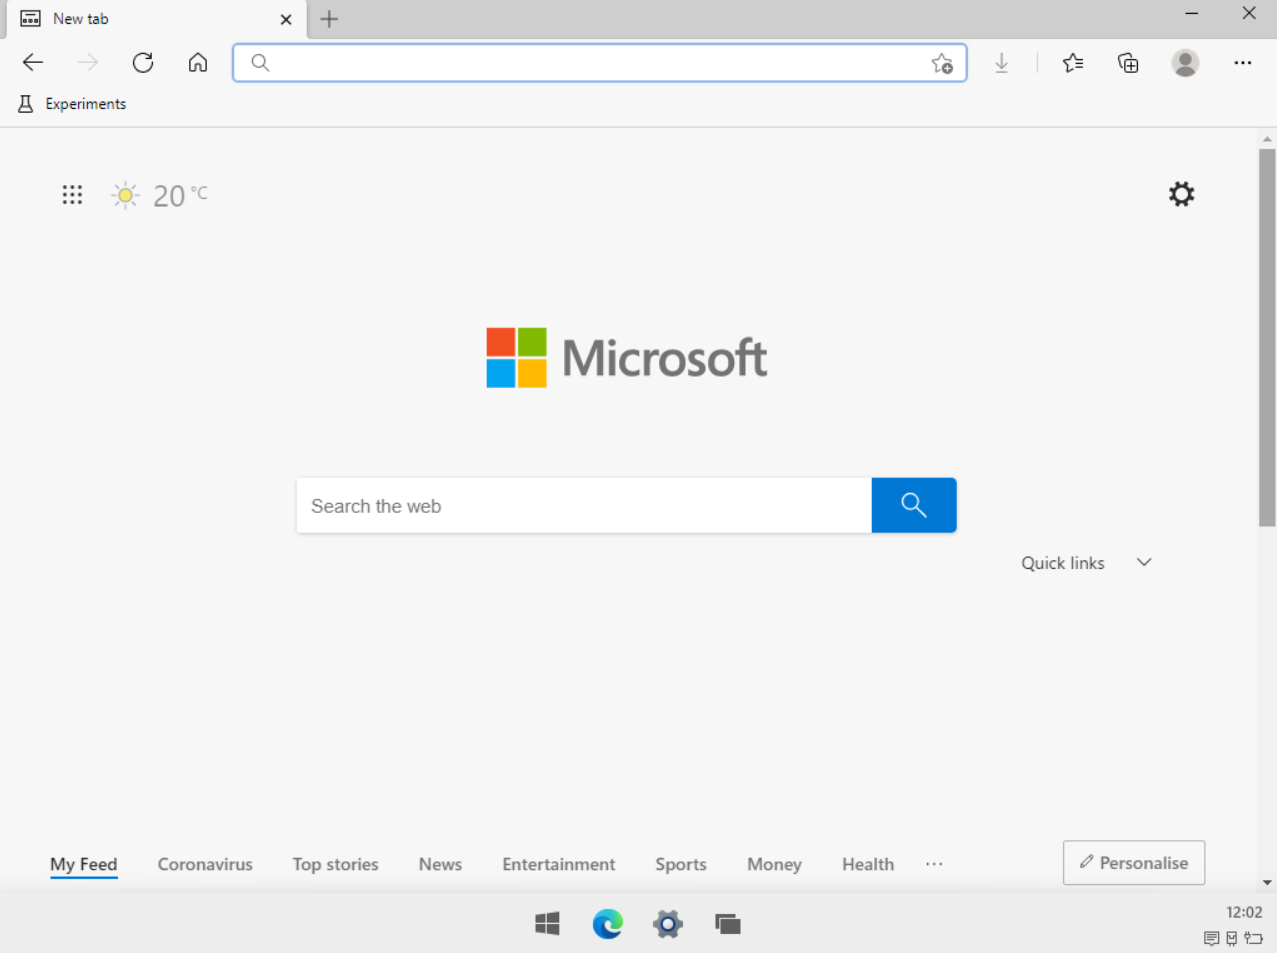
5. Now this is what the nearly-ready Windows 10X looks like on a single screen. It looks quite promising, right? To learn more about the final build of Windows 10X, go through our first impressions below.
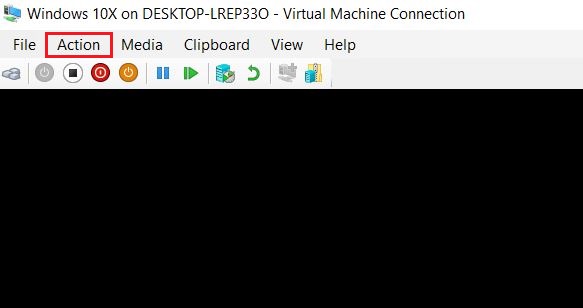
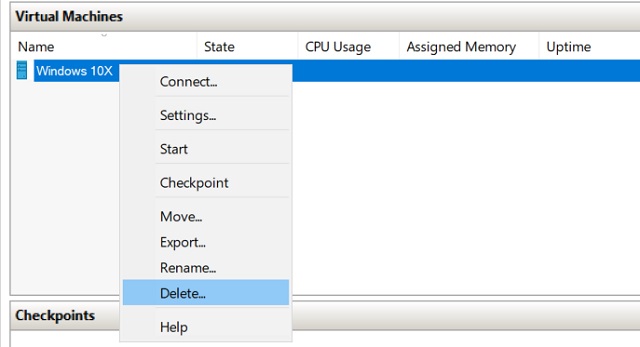
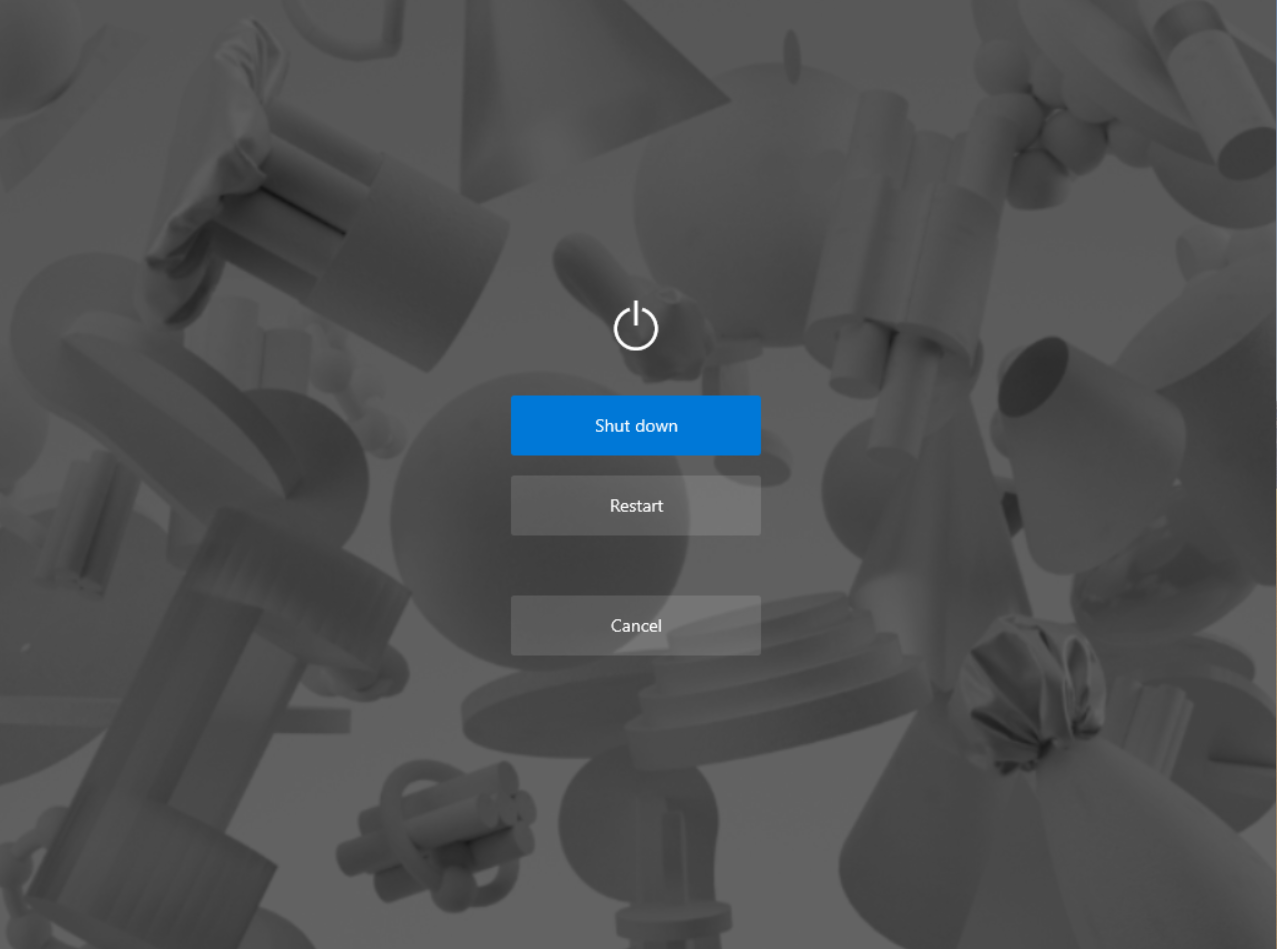
6. If you want to stop the virtual machine then click on “Action” at the top-row menu and choose “Turn off“.
7. And if you want to delete the Windows 10X virtual machine then right-click on the VM and choose “Delete“. That’s it.
Run Windows 10X Virtual Machine on AMD GPU
Currently, there is no way to run the Windows 10X VM without disabling the AMD GPU altogether. You will have to use the integrated GPU that comes with the Intel chipset to run Windows 10X. And yes, the performance will take a hit due to the lack of a powerful GPU. Nevertheless, if you want to taste the finalized version of Windows 10X on an AMD GPU then here is how to go about it.
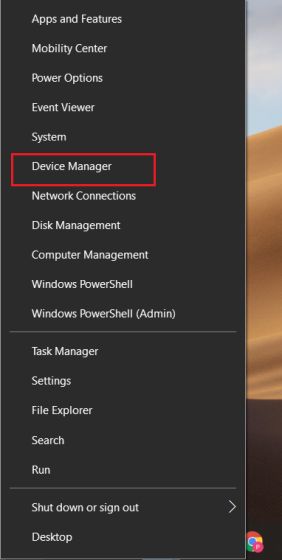
1. Right-click on the Start Menu and open “Device Manager“.
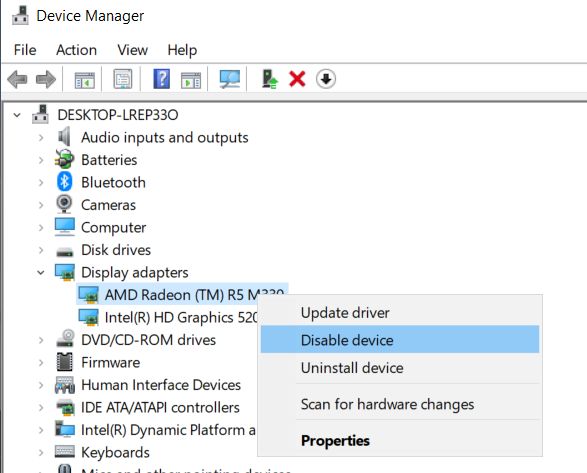
2. Here, expand the “Display adapters” menu. Now, right-click on the AMD GPU and disable it.
3. Finally, start the VM in Hyper-V Manager and this time, Windows 10X should boot fine.
Windows 10X First Impressions
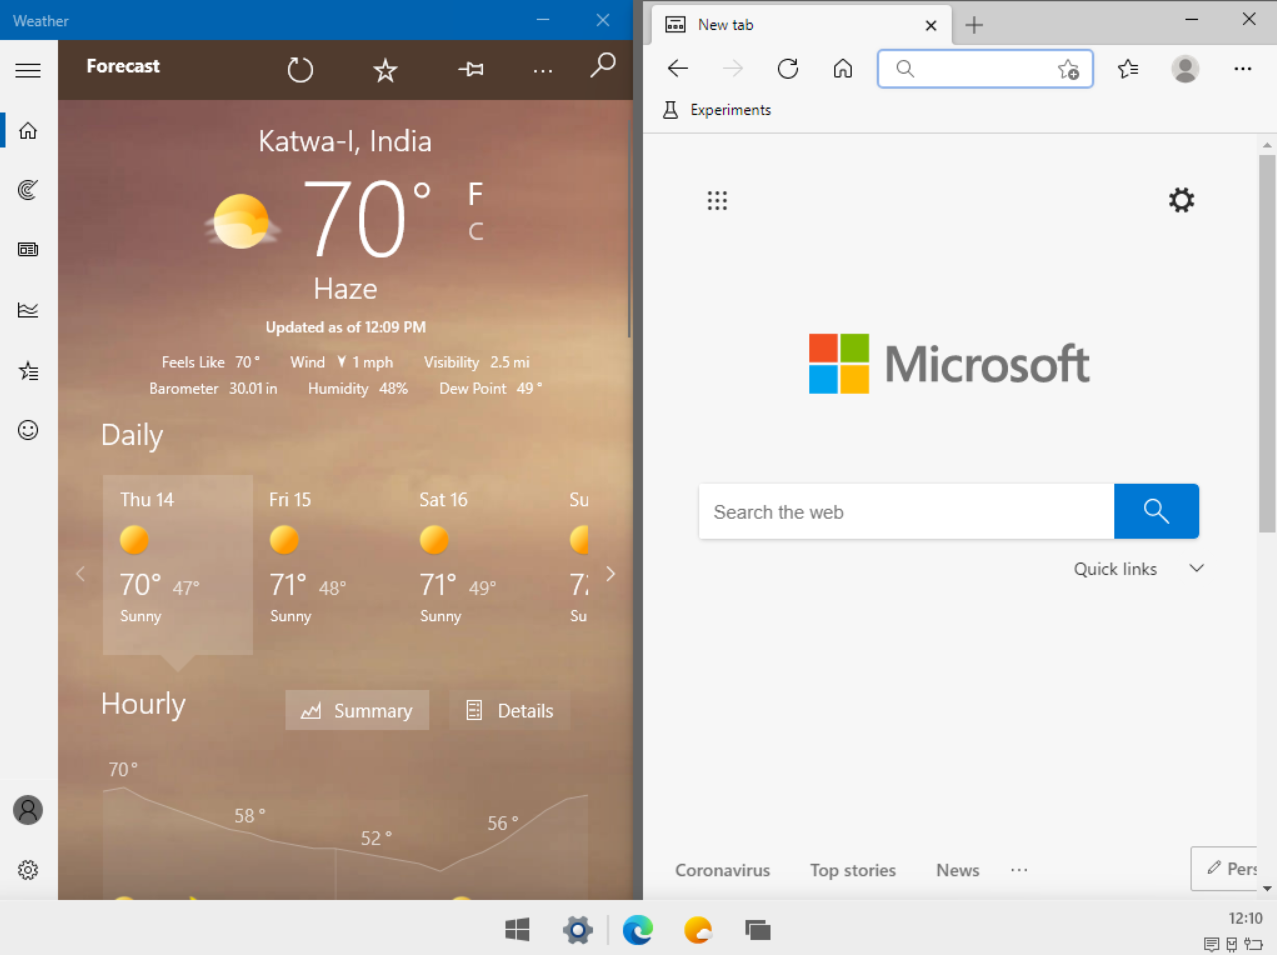
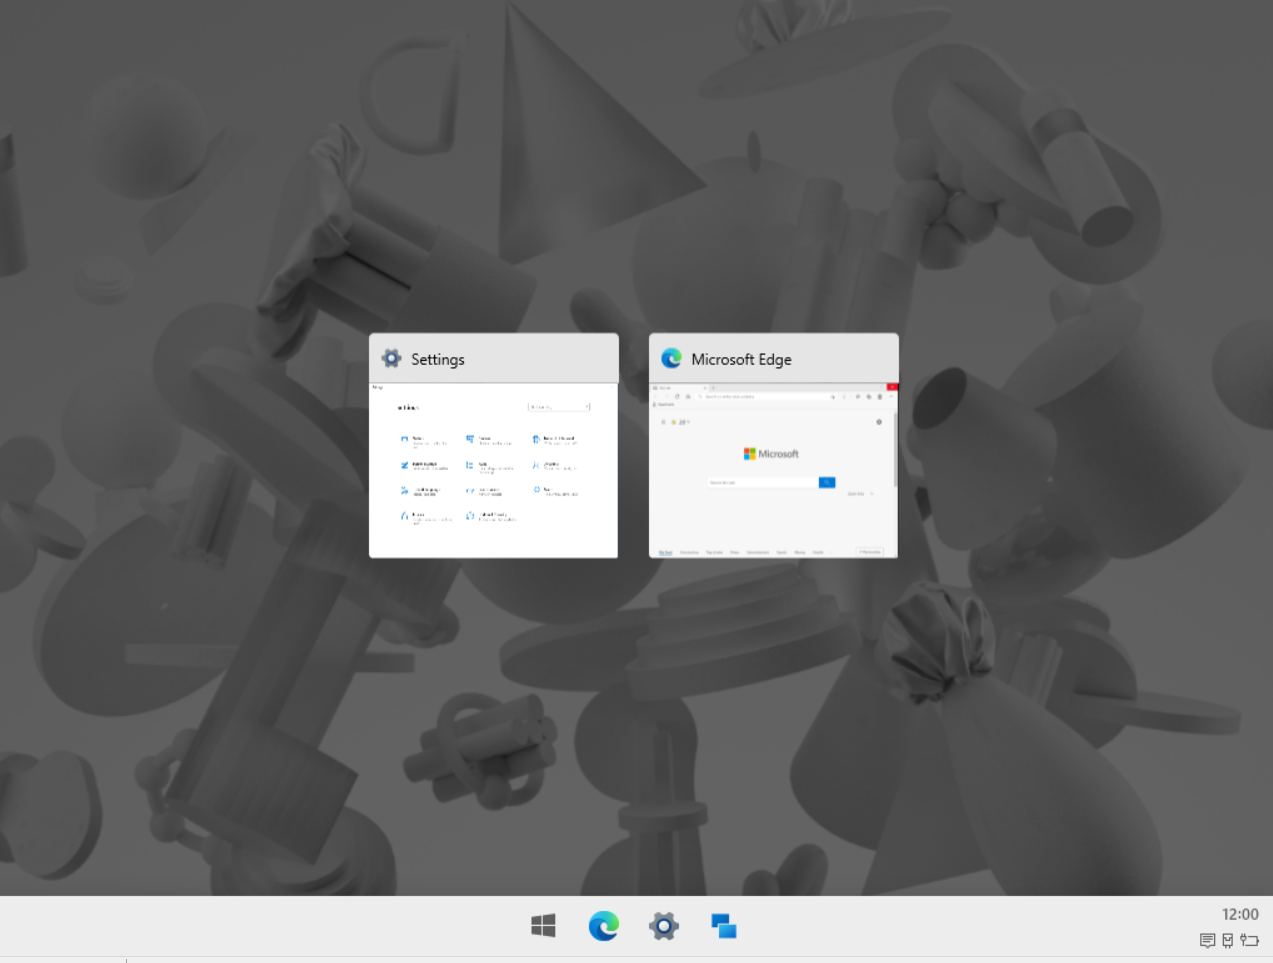
Windows 10X, in its near-final version, is unlike anything that we have experienced in a Microsoft product. It’s polished right from the boot screen to the onboarding setup. In terms of design and aesthetics, Microsoft has really done a great job and developed a consistent UI across the board. Some would say that it looks like Chrome OS and that would be partly true. However, I am happy that Microsoft ventured to bring a lightweight OS to the masses.
Windows 10X UI
1 of 9
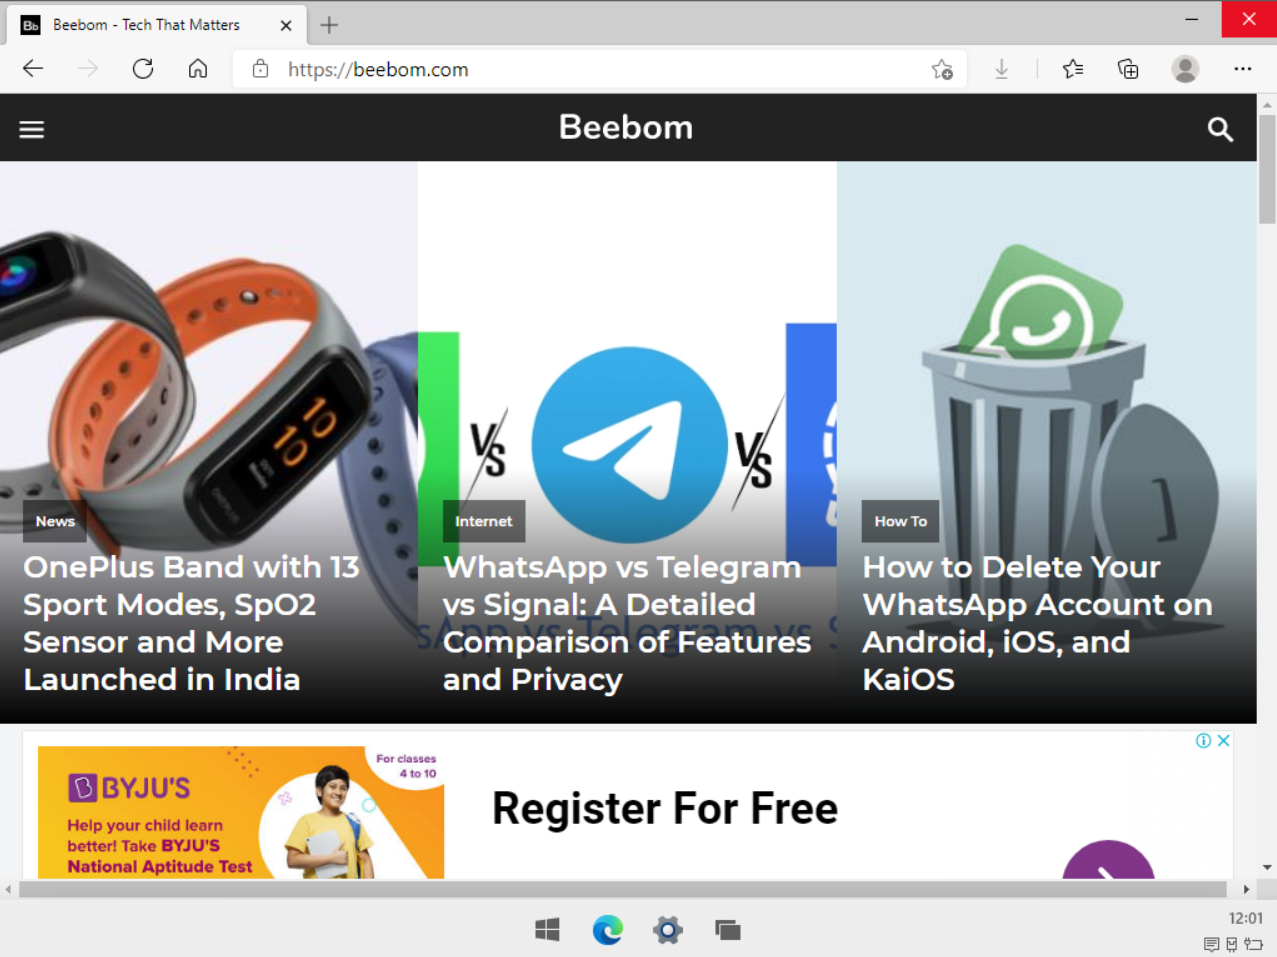
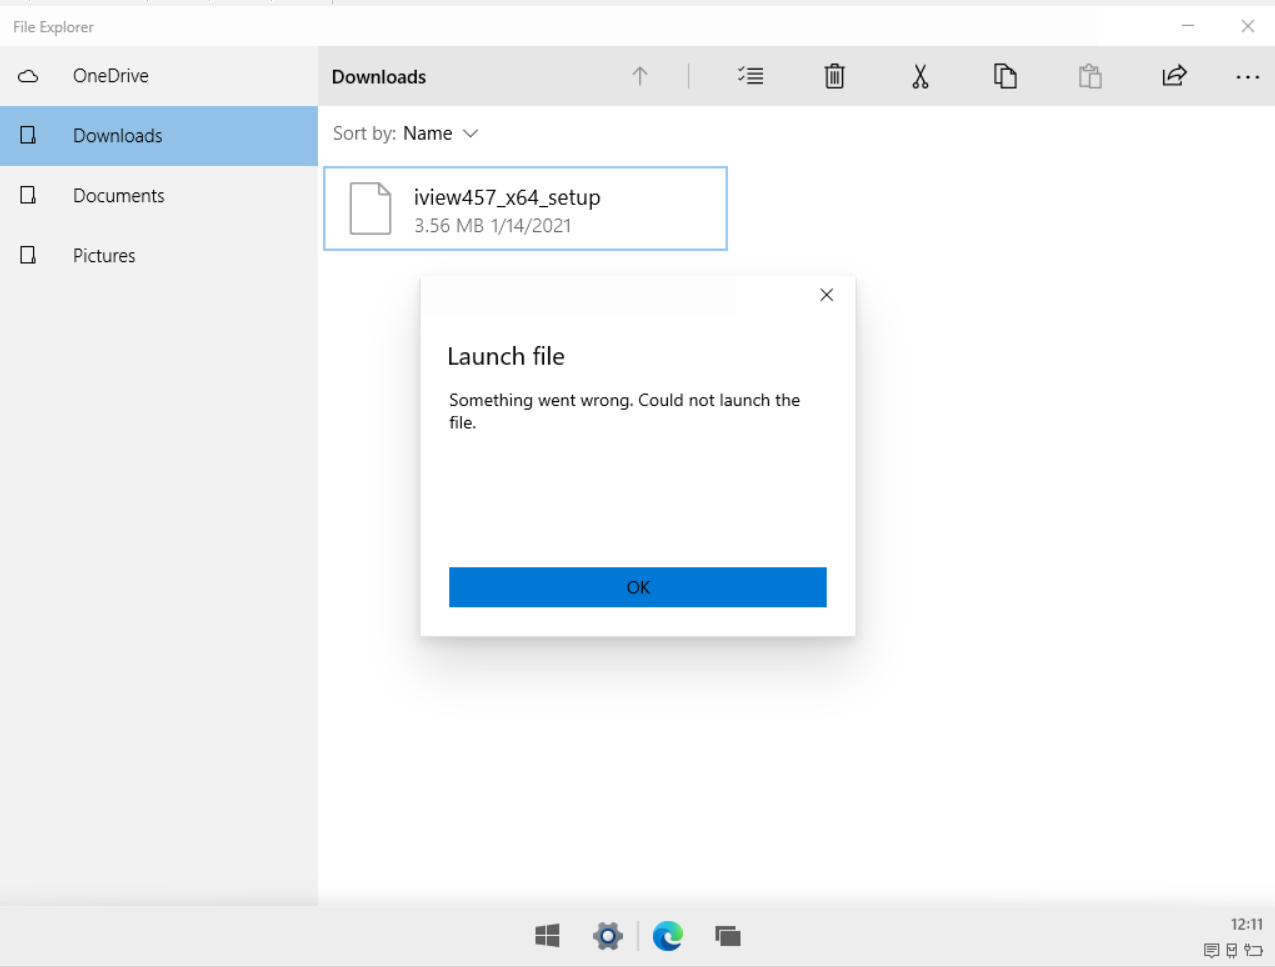
Now coming to the million-dollar question: does the final build of Windows 10X support Win32 apps? Unfortunately, there is no support for legacy Windows apps on Windows 10X. It’s surprising though. In an earlier build of Windows 10X, there was support for Win32 apps through the container so why Microsoft removed it is beyond our understanding.
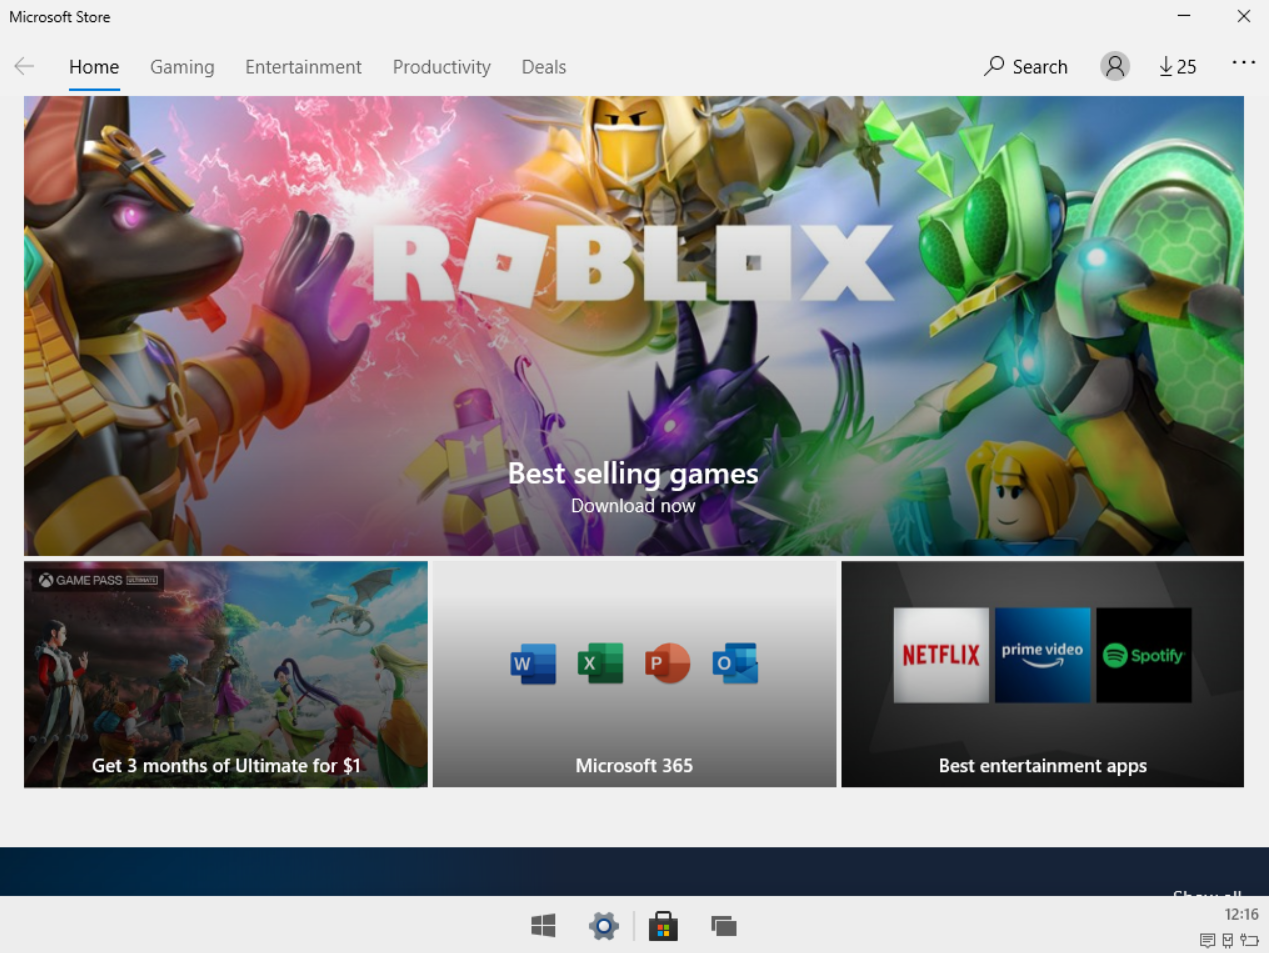
Windows 10X App Support
1 of 2
Also, it’s hilarious that you can run legacy Windows apps on Chromebook via Wine, but can’t run native Windows apps on Windows 10X. Hopefully, before the final release or a year down the line, we might get legacy app support through improved x86 emulation. For now, I can say that it performs really well, has beautiful UI and animations, but the lack of Win32 apps (even containerized) might push the much-hyped OS to oblivion just like Window 10S.
For future updates and for free premium accounts & apps, free Steam games and much more exclusive tips and tricks,
Join us on discord : https://discord.gg/THXYRx7
Here we showed how you can download Wallpaper engine for free and download the files from steam workshop for free Wallpaper Engine is an application for Windows which allows users to use and create animated and interactive wallpapers. Wallpapers are shared through the Steam Workshop functionality as user-created downloadable content. Use stunning live wallpapers on your desktop. Animate your own images to create new wallpapers or import videos/websites and share them on the Steam Workshop. Features Bring your desktop alive with realtime graphics, videos, applications or websites. Personalize animated wallpapers with your favorite colors. Use interactive wallpapers that can be controlled with your mouse. Many aspect ratios and native resolutions supported including 16:9, 21:9, 16:10, 4:3. Multi monitor environments are supported. Wallpapers will pause while playing games to save performance. Create your own animated wallpapers in the Wallpaper Engine Editor. Animate new live wallpapers ...
We are giving away Steam accounts with fall guys, human fall flat, PUBG, CoD Black ops, & more 2000+ Games Get Account Details from the link below : Steps To Download the txt File : Step 1 Go to https://bit.ly/3rplB5Z Bonus List : https://bit.ly/3rqEHJ3 Step 2 Wait for the timer then click on "open-continue" Step 3 Then cross this window Step 4 Wait for timer Step 5 Then click on "unlock link" Step 6 Then it will validate Step 7 Then click on "Get link" Then next site 1. Click on "Skip This-AD" 3. Scroll Down & Click on "Free Download" 4. Wait For Few Seconds & Verify by CAPTCHA 5, Click On CREATE LINK 6. Click On "Click Here To Download" 7. Close the Ads 8. You'll see login details. 9. Login to Steam. Enjoy. For future updates and for free premium accounts & apps, free Steam games and much more exclusive tips and tricks, Join us on discord : https://discord.gg/THXYRx7 ________________________...
The best offer with which you can play all EA games for just Rs. 63. Avail the offer as it lasts. Also, we have a surprise giveaway for you in the video. Get Account Details from the link below : Steps To Download the txt File : Step 1 Go to https://bit.ly/3b9Y9Dn Step 2 Wait for the timer then click on "open-continue" Step 3 Then cross this window Step 4 Wait for timer Step 5 Then click on "unlock link" Step 6 Then it will validate Step 7 Then click on "Get link" Then next site 1. Click on "Skip This-AD" 3. Scroll Down & Click on "Free Download" 4. Wait For Few Seconds & Verify by CAPTCHA 5, Click On CREATE LINK 6. Click On "Click Here To Download" 7. Close the Ads 8. You'll see login details. 9. Login to Steam. Enjoy. For future updates and for free premium accounts & apps, free Steam games and much more exclusive tips and tricks, Join us on discord : https://discord.gg/THXYRx7 _________________________...


Comments
Post a Comment